
There’s something magical about the aroma of freshly baked treats filling your kitchen. Whether it’s a weekend project or a quick weekday indulgence, baking brings joy and comfort. Today, we’re diving into a time-tested recipe that promises to deliver soft, chewy, and irresistibly fudgy chocolate chip cookies.
This recipe has been perfected over the years, earning praise for its consistent results and rich flavor. Using simple ingredients like cocoa powder, room temperature butter, and high-quality chocolate, you’ll create a cookie dough that’s easy to handle and bakes into perfection. Whether you’re a seasoned baker or a beginner, this guide will walk you through every step.
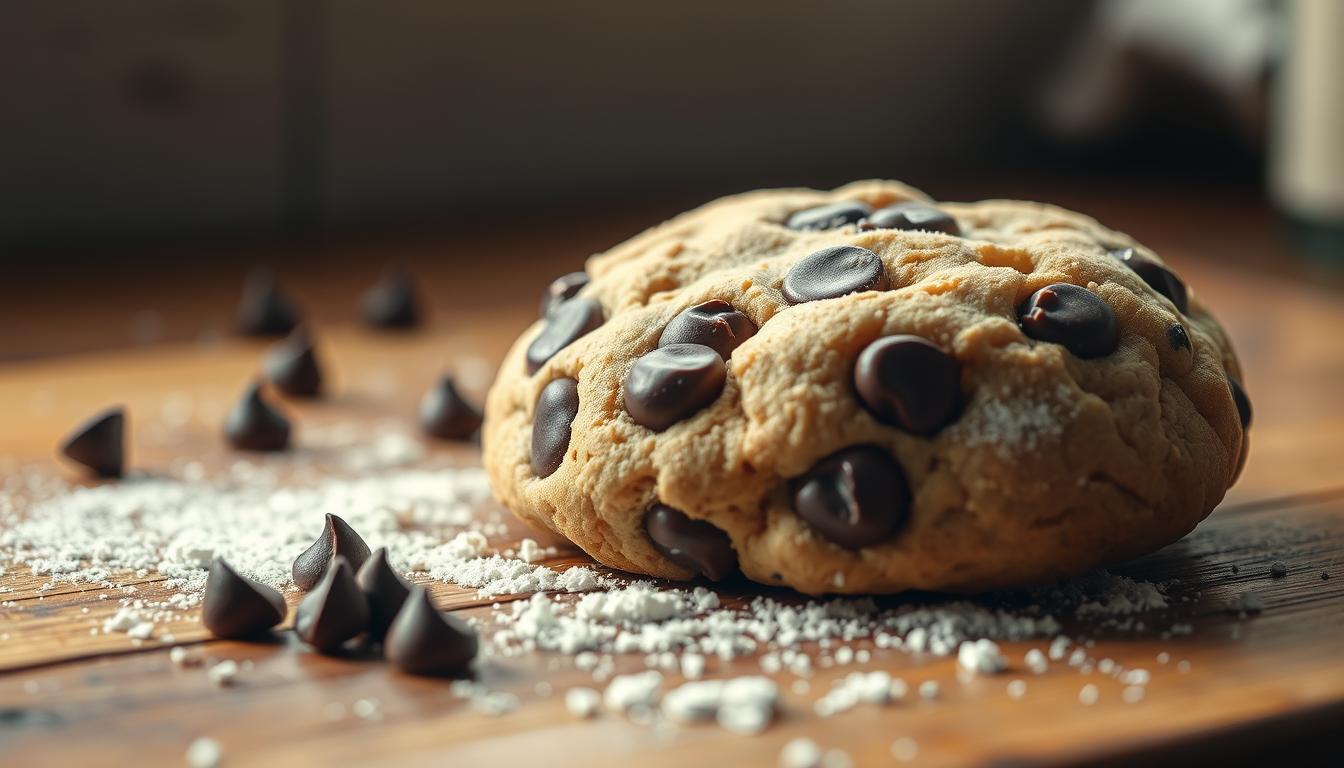
From mixing the dough to shaping the perfect cookie dough ball, you’ll learn tips and techniques that ensure success. The result? A batch of double chocolate chip delights that are crispy on the edges, soft in the center, and packed with melty goodness. Let’s get started on this delicious journey!
Key Takeaways
- Learn a reliable recipe for soft and chewy chocolate chip cookies.
- Discover the importance of using room temperature butter for perfect dough consistency.
- Understand how natural cocoa powder enhances the rich, fudgy flavor.
- Master essential baking techniques for consistent results.
- Create crowd-pleasing cookies that are crispy on the outside and soft inside.
Introduction & Inspiration
Baking is more than just a process; it’s a tradition that connects generations. This recipe for chocolate chip cookies is a testament to that legacy. Refined over years and featured in numerous cookbooks, it has become a staple in many households.
The cookie dough at the heart of this recipe is versatile and reliable. Whether you’re a beginner or an experienced baker, it’s designed to deliver consistent results. Its rich flavor and soft texture make it a favorite for all occasions.
Cookie Dough Legacy
This recipe has been perfected through years of testing. It’s a blend of simple ingredients like cocoa powder, butter, and vanilla extract. These elements come together to create a dough that’s easy to handle and bakes beautifully.
The foundation of this recipe is its adaptability. You can add white chocolate chips, nuts, or even a pinch of sea salt to customize it. This flexibility has made it a go-to for bakers looking to experiment with flavors.
Reader Reviews & Feedback
Real feedback from bakers like Kat, Amber, and Cynthia highlights the recipe’s success. They praise its soft and chewy texture and rich flavor. Here’s what some of them had to say:
| Reviewer | Feedback |
|---|---|
| Kat | “These cookies are a hit every time I bake them. The dough is so easy to work with!” |
| Amber | “I added dark chocolate chips, and they turned out amazing. Perfect balance of sweetness.” |
| Cynthia | “The recipe is foolproof. My family can’t get enough of these cookies.” |
These testimonials reflect the recipe’s ability to bring joy to every kitchen. It’s not just a recipe; it’s a tradition worth passing down.
Ingredients & Essential Tools
The secret to perfect cookies lies in the right ingredients and tools. Whether you’re a seasoned baker or just starting, having the essentials ready ensures a smooth and enjoyable baking experience. Let’s break down what you’ll need to create your next batch of irresistible treats.
Must-Have Ingredients
Your cookie dough starts with a blend of simple, high-quality ingredients. Begin with unsalted butter at room temperature for easy mixing. Combine it with granulated sugar and brown sugar to achieve the perfect balance of sweetness and texture.
Add a large egg and a splash of vanilla extract for richness. For the dry ingredients, measure out all-purpose flour, natural cocoa powder, baking soda, and a pinch of salt. These create the base of your dough, ensuring it bakes evenly and holds its shape.
Finally, don’t forget the star of the show: chocolate chips or chunks. Use high-quality options for a melt-in-your-mouth experience. Precise measurements, like 1 cup or 1 teaspoon, are key to consistency.
Recommended Baking Tools
Having the right tools makes baking easier and more efficient. Start with an electric mixer to cream the butter and sugars until light and fluffy. A cookie scoop ensures uniform dough balls, which bake evenly on your baking sheet.
Line your sheets with parchment paper to prevent sticking and make cleanup a breeze. A cooling rack is essential for letting your cookies set properly after baking. These tools, combined with a little patience, guarantee professional results every time.
With your ingredients prepped and tools ready, you’re all set to dive into the baking process. The next steps will guide you through creating dough, shaping, and baking your cookies to perfection.
How to Make Double Chocolate Chunk Cookies
Mastering the art of baking starts with understanding the process. This guide will walk you through every step, from preparing the dough to cooling your freshly baked treats. Follow these instructions to create cookies that are soft, chewy, and packed with flavor.
Step-by-Step Dough Preparation
Begin by creaming room temperature butter with granulated sugar and brown sugar until light and fluffy. This step is crucial for achieving the perfect texture. Add a large egg and a splash of vanilla extract to the mixture, blending until smooth.
In a separate bowl, combine all-purpose flour, natural cocoa powder, baking soda, and a pinch of salt. Gradually mix the dry ingredients into the wet mixture, ensuring the dough remains thick and sticky. Fold in chocolate chips or chunks for that irresistible melty goodness.

Chilling & Shaping Techniques
Once the dough is prepared, cover it and refrigerate for at least 3 hours. Chilling ensures the dough firms up, making it easier to handle and preventing excessive spreading during baking. For best results, let it rest overnight.
When ready to bake, shape the dough into tall, column-like balls. This technique helps the cookies bake into thick, chewy rounds with a fudgy center. Place the dough balls on a baking sheet lined with parchment paper, leaving enough space between them for even baking.
Baking & Cooling Process
Preheat your oven to 350°F and bake the cookies for 11 to 12 minutes. If you prefer a slightly flatter cookie, gently tap the baking sheet on the counter halfway through baking. This encourages the dough to spread evenly.
After baking, let the cookies cool on the sheet for 5 minutes before transferring them to a cooling rack. This step ensures they set properly while maintaining their soft, chewy texture. Serve warm or store in an airtight container for later enjoyment.
Tips and Tricks for Perfect Texture & Flavor
Perfecting your baking skills requires attention to detail and a few expert tips. Whether you’re aiming for a soft center or a crispy edge, these techniques will help you achieve the ideal balance.
Avoiding Overmixing for Tender Cookies
Overmixing your cookie dough can lead to excess gluten development, resulting in a bready texture. To keep your treats tender, mix the ingredients only until just combined. This ensures the dough remains light and airy.
When adding liquids like vanilla extract or eggs, blend them gently. Fold in chocolate chips or chunks at the end to maintain their integrity. This step prevents the dough from becoming dense.

Achieving an Optimal Spread
Chilling your dough is crucial for preventing excessive spreading. Refrigerate it for at least 3 hours or overnight. This firms up the dough, making it easier to shape and bake evenly.
When shaping the dough, form tall, column-like balls. This technique helps the cookies bake into thick, chewy rounds. For an even spread, gently tap the baking sheet on the counter halfway through baking.
- Mix ingredients only until combined to avoid overworking the dough.
- Chill the dough thoroughly to prevent unwanted spreading.
- Shape dough into tall balls for thick, chewy cookies.
- Tap the baking sheet mid-bake for an even spread.
With these tips, you’ll create chocolate chip cookies that are soft, chewy, and bursting with flavor. Happy baking!
Variations & Customization Ideas
Customizing your baked goods can turn a simple recipe into a unique masterpiece. Whether you’re looking to experiment with flavors or elevate your presentation, there are endless ways to make this recipe your own.
Alternative Add-Ins & Flavor Twists
One of the easiest ways to personalize your cookie dough is by switching up the mix-ins. While chocolate chips are a classic choice, you can explore other options to create new flavor profiles. Here are some ideas to inspire your next batch:
| Add-In | Flavor Profile |
|---|---|
| Peanut Butter Chips | Rich and nutty |
| White Chocolate Chips | Creamy and sweet |
| Chopped Nuts | Crunchy and earthy |
| Coconut Flakes | Tropical and chewy |
| Peppermint Candy | Festive and refreshing |
These additions can transform your chocolate chip cookie into something entirely new. For example, swapping dark chocolate for white chocolate creates a sweeter, creamier treat. Adding a pinch of sea salt enhances the richness of the chocolate.
Creative Presentation & Serving Suggestions
Presentation plays a big role in making your treats stand out. Turn your cookie dough into ice cream sandwiches by sandwiching a scoop of vanilla ice cream between two cookies. This is a fun and indulgent way to enjoy your creations.
For seasonal flair, try adding crushed peppermint candy to the dough for a festive touch. You can also shape the dough into themed cookies, like s’mores crinkle cookies or salted caramel dark chocolate delights. These ideas not only taste great but also look stunning on any dessert table.
By experimenting with flavors and presentation, you can make this recipe uniquely yours. Whether you’re baking for a special occasion or just for fun, these customization ideas will inspire your creativity.
Conclusion
Creating the perfect treat is both an art and a science, and this recipe makes it simple. With its reliable cookie dough base, you’ll achieve soft, chewy results every time. The step-by-step process ensures even beginners can master it, while the tips and tricks guarantee professional-quality chocolate chip delights.
Don’t hesitate to experiment with add-ins or presentation ideas to make it your own. Reader reviews highlight its success, proving it’s a crowd-pleaser. Whether you’re baking for a special occasion or a quick treat, this recipe adapts effortlessly.
So, grab your ingredients, preheat your oven, and start baking. Share your creations and enjoy every bite of your chocolate chip masterpiece!